


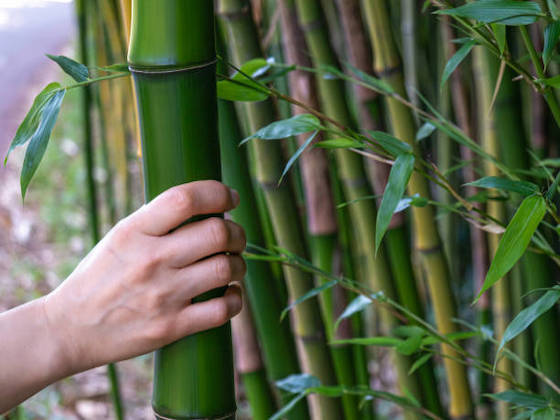
Bamboo Pergola Java
INSTALLATION
For the most stable placement of the pergola, we recommend attaching it to post holders or securing it into the ground. You can easily order the required post holders and M8 bolts and nuts with the package. When securing in the ground, we recommend treating the part that goes into the ground with our Ground Protector to prevent mold and rot.
You still need to cut the studs we send to size yourself. You can easily cut the studs with a hacksaw or grinder. The washers and nuts you need are included in this package.
Watch the instruction video here
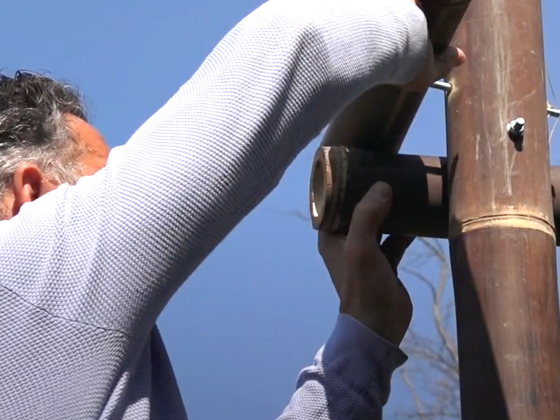
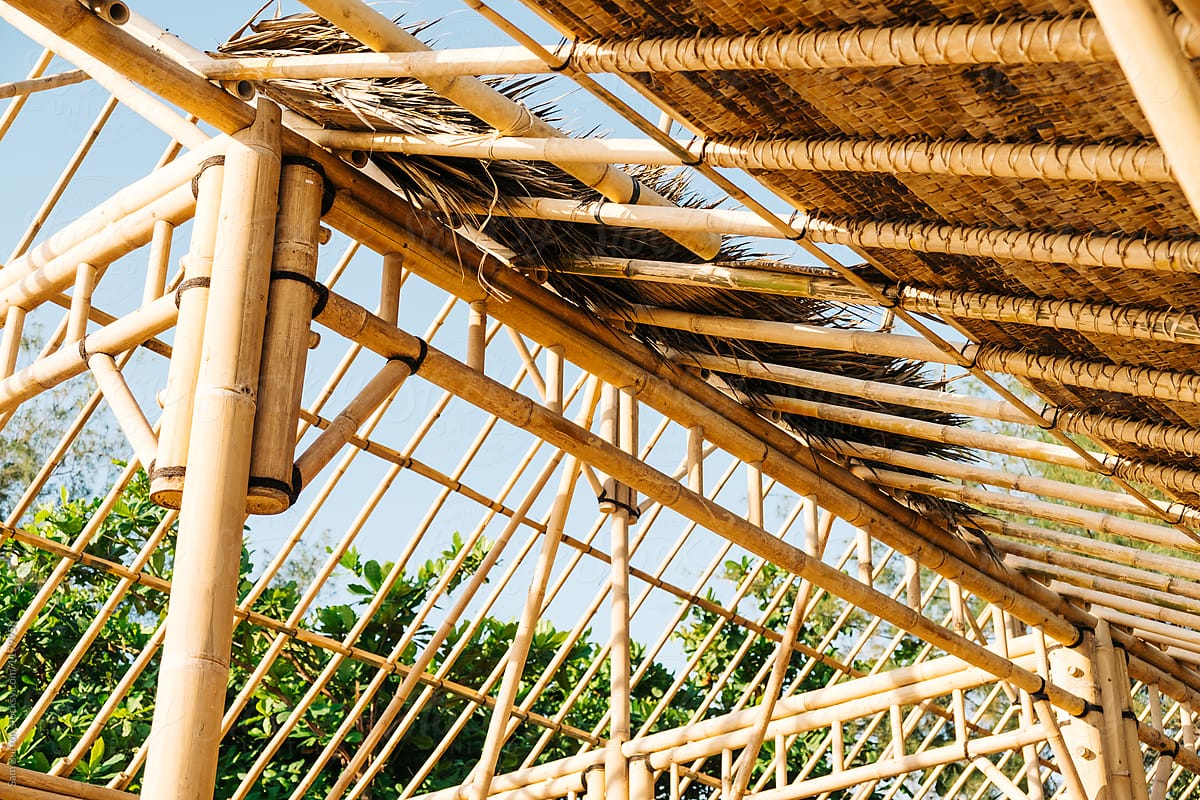
Bamboo Pergola Guadua
INSTALLATION
For the most stable placement of the pergola, we recommend attaching it to post holders or securing it into the ground. You can easily order the required post holders and M8 bolts and nuts with the package. When securing in the ground, we recommend treating the part that goes into the ground with our Ground Protector to prevent mold and rot.
You still need to cut the studs we send to size yourself. You can easily cut the studs with a hacksaw or grinder. The washers and nuts you need are included in this package.
Watch the instruction video here
INSTALLATION
For the most stable placement of the pergola, we recommend attaching it to post holders or securing it into the ground. You can easily order the required post holders and M8 bolts and nuts. When securing in the ground, we recommend treating the part that goes into the ground with our Ground Protector to prevent mold and rot.
You still need to cut the studs we send to size yourself. You can easily cut the studs with a hacksaw or grinder. The washers and nuts you need are included in this package.
Download the manual
Watch the instruction video here
Bamboo Roller Blinds
Watch the instructional video here
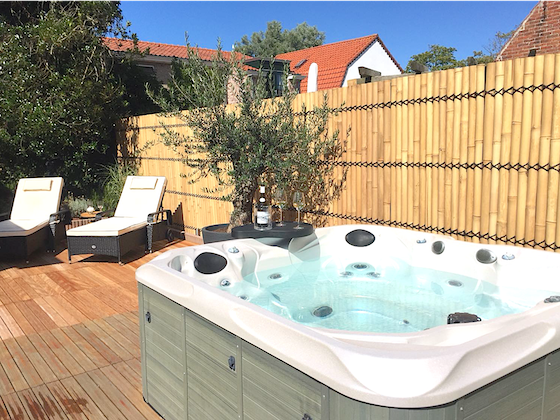
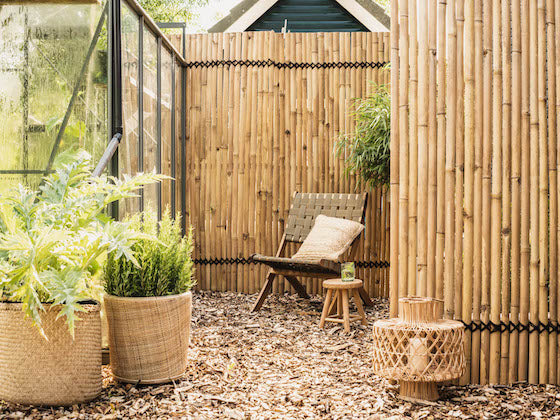
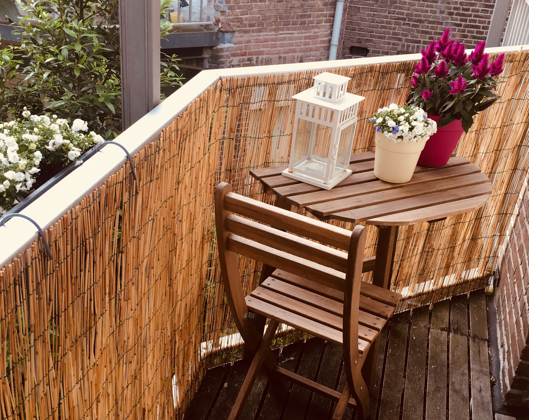
Bamboo Garden Fences
Watch the instructional video here
Watch the instructional video here
Decking boards
Watch the instructional video here
Bamboo mats
In order to enjoy your Bamboo mat as long as possible, it is important that it is mounted properly. Please avoid direct contact with the ground. We recommend placing the mats just above the ground so that they do not remain damp for long periods of time. After all, this can cause discoloration and mold over time.
To attach a Bamboo mat to a wooden fence or wall, drill 4mm holes through the bamboo sticks. Pre-drilling with a 4mm drill isimportant here because otherwise the bamboo may crack. Do this every +/- 20 cm and screw down the bamboo mat with 4 x 40 mm screws. Screw the bamboo mat at the top and bottom for maximum stability. For fixing to a wall are often also plugs used.
If the Bamboo mat against a mesh panel isfixed, it is best to do this with Tie-Wraps or Binding Threads. These can be tied around the iron wire of the mat every +/- 20 cm. Attach the mat at the top and bottom for maximum stability.
A split mat can be shortened in height by sawing off the excess. Bamboo can splinter so be sure to use a sharp (Japanese) saw and, preferably, cut by hand.
We recommend doing this at the bottom of the split mat. It is also easy to adjust the width. Choose the right size and add 3-4 split sticks. Cut the iron wires from top to bottom and remove the last slats. This will leave you with several inches of wire that can be easily twisted back together to keep the mat firmly together.
Watch the instructional video here
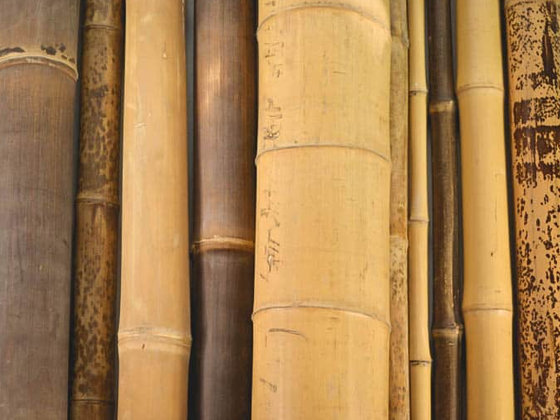
Bamboo Sticks & Poles
Watch the instructional video here
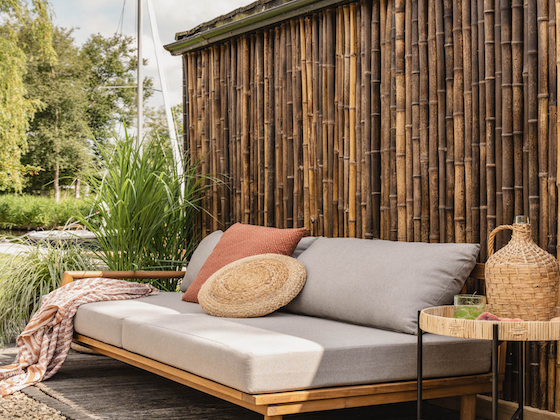
Bamboo Wall Cladding
Download the manual here
Bamboo Borders
Border rolls come into their own best as the edge of a flowerbed. This means direct contact with the soil. We therefore recommend treating the bottom of the border, the part that will be in the ground, with our Bamboo Ground Protector. Untreated bamboo can rot or mold in the ground over time.
Are you mounting the Bamboo Border roll against something? Try to keep a few millimeters space between the roll and the soil. To fix the Bamboo Border roll against, for example, a plank, drill 4mm holes through the bamboo sticks. Pre-drilling is important here, because otherwise bamboo may crack. Do this every +/- 20 cm and screw the border roll with 4 x 70 mm screws.
If the Bamboo Border Roll is secured against a mesh panel , you can best do this with Tie-Wraps or Binding Threads. These can be tied around the iron wire of the roll every +/- 20 cm. Secure the roll at the top and bottom for maximum stability.
Bamboo Balcony Bar
To make assembly easy and quick, we supply the Bamboo Balcony Bar including instructions. Here it explains step by step how to assemble this product and place it on the balcony edge. This should take no more than 15 minutes. It is a complete kit with all the necessary materials included.
The Bamboo Balcony Bar cannot be cut to size. You can of course choose to place two pieces side by side so that you get a longer whole.
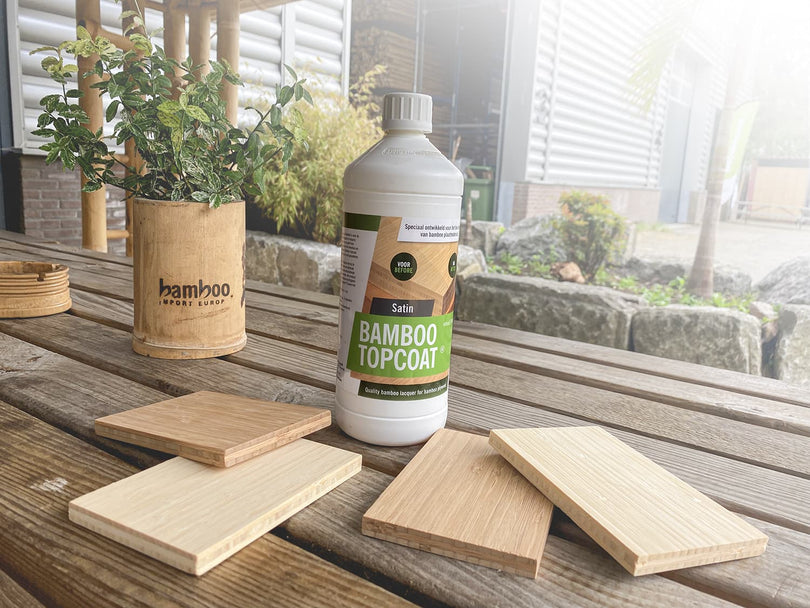
Bamboo Flooring
INSTALLATION
The Bamboo Floor Classy consists of wide planks with T&G profiling. The Bamboo Flooring Classy has a simple installation process. You easily click/slide them together. You can also easily cut this floor to size if needed.
INSTALLATION
The Bamboo Floor Forrest consists of wide planks with T&G profiling. The Bamboo Floor Forrest has a simple installation process. You easily click/slide them together. You can also easily cut this floor to size, should the need arise.
INSTALLATION
We recommend having the Bamboo Floor Industrial professionally laid, as the laying process requires experience. When laid, this floor is hard-wearing, sturdy and therefore extremely durable.
The process of laying and maintenance is further explained in our Bamboo Floor Industrial manual.
Easy installation | Laying instructions Bamboo Floor Budget
Get 6 beautiful Bamboo Floor Budget planks in one box and experience the convenience of the ingenious click system for effortless installation. Measuring 920mm x 125mm x 10mm per plank, each box provides the perfect amount of flooring to quickly and efficiently transform your space. The clever design of the click system not only makes it easy to install the planks, but also ensures that the process runs smoothly. For detailed instructions, you can download the installation instructions from our website here, and should you have any questions, our friendly bamboo specialists are always available to assist you.
Download the Bamboo Floor Budget manual here.
Download the Bamboo Floor Deluxe manual here.
Reed Fence Roll
A reed mat can easily be cut to size. Shortening a reed mat in height can be done with clippers or hedge shears. Cut the reed to the desired height, and place the reed mat in the desired spot.
It is also easy to adjust the width. Choose the right size and add 3 reeds to it. Cut the iron wires from top to bottom and remove the last three stems. This leaves a few centimeters of iron wire which can be easily twisted together again so that the reed mat stays firmly together.
To enjoy your reed mat for as long as possible, it is important that it is mounted properly. Please avoid direct contact with the ground. We recommend placing the mats just above the ground so that they do not remain damp for long periods of time. After all, this can cause discoloration and mold over time.
Attaching the reed mat to a Mesh Panel, trellis, balcony fence, construction fence or fencing can be done with Tie-Ties or Tie-Wraps. Wrap these around the stems and fence and twist or pull.
For attaching the reed mat to a fence, we have two options. You can, first, choose to attach it with Wire Clamps. Place these over the stem and hammer them down with a hammer. Second, you can choose to use our fastening screws. These are small screws with a Washer, which you use to screw the cane to the back and the Washer keeps it firmly in place.
Willow Mats
In order to enjoy your willow mat as long as possible, it is important that it is mounted properly. Please avoid direct contact with the ground. We recommend placing the mats just above the ground so that they do not remain damp for long periods of time. After all, this can cause discoloration and mold over time.
Attaching the willow mat to a mesh panel, trellis, balcony fence, construction fence or fence can be done with Tie-Ties or Tie-Wraps. Wrap these around the stems and fence and twist or pull.
For attaching the willow mat to a fence, we have two options. You can, first, choose to attach it with Wire Clamps. Place these over the stem and hammer them down. Second, you can choose to use our fastening screws. These are small screws with a Washer, which you use to screw the reed to the back and the Washer keeps it firmly in place.
Watch the instruction video here
Need a size other than the standard? Fortunately, our mats are easy to customize. A willow mat can easily be cut to size. Shortening a willow mat in height can be done with clippers or hedge shears. Simply cut the willow mat to the desired height.
The width is also easy to adjust. Choose the right size and add 3 willow twigs. Cut the iron wires from top to bottom and remove the last three willow twigs. This leaves a few centimeters of wire which can be easily twisted together again. This ensures that the willow mat stays firmly together.