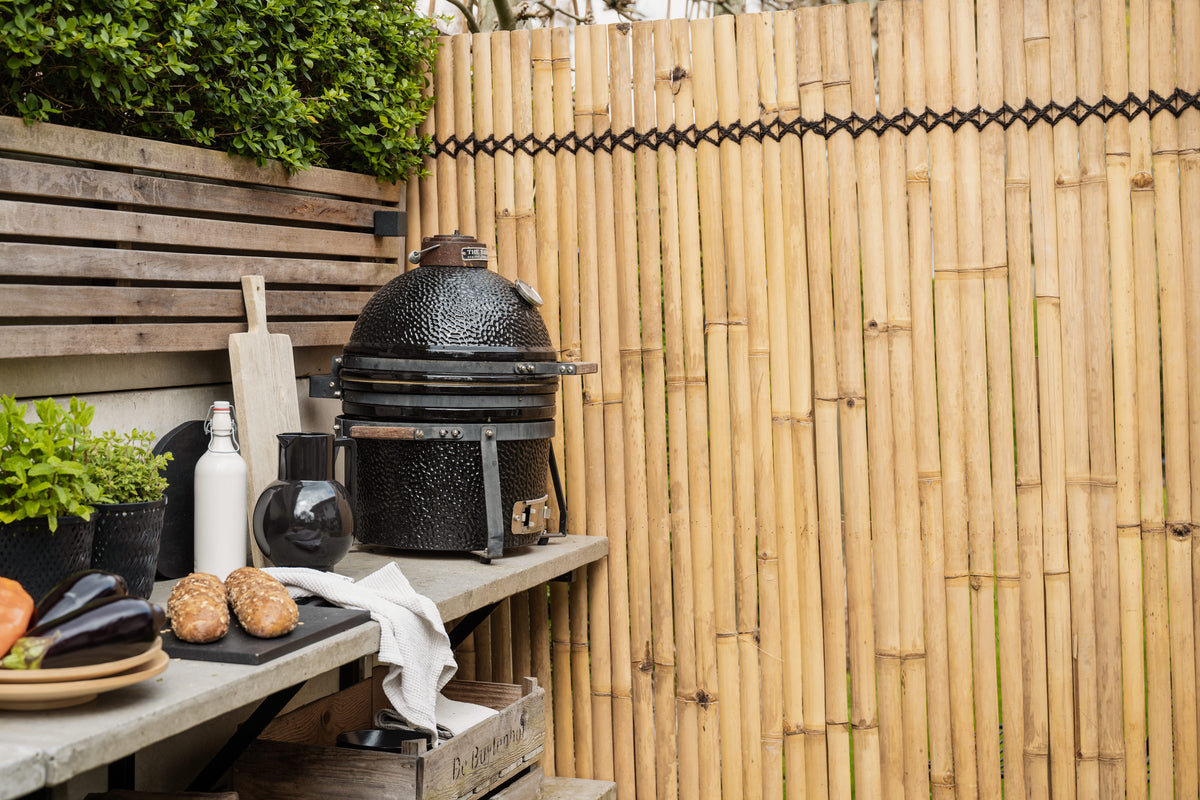


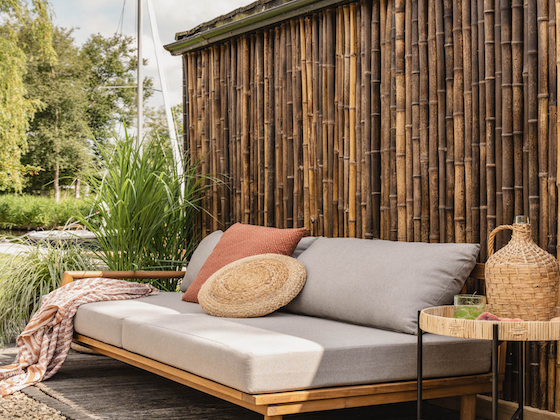


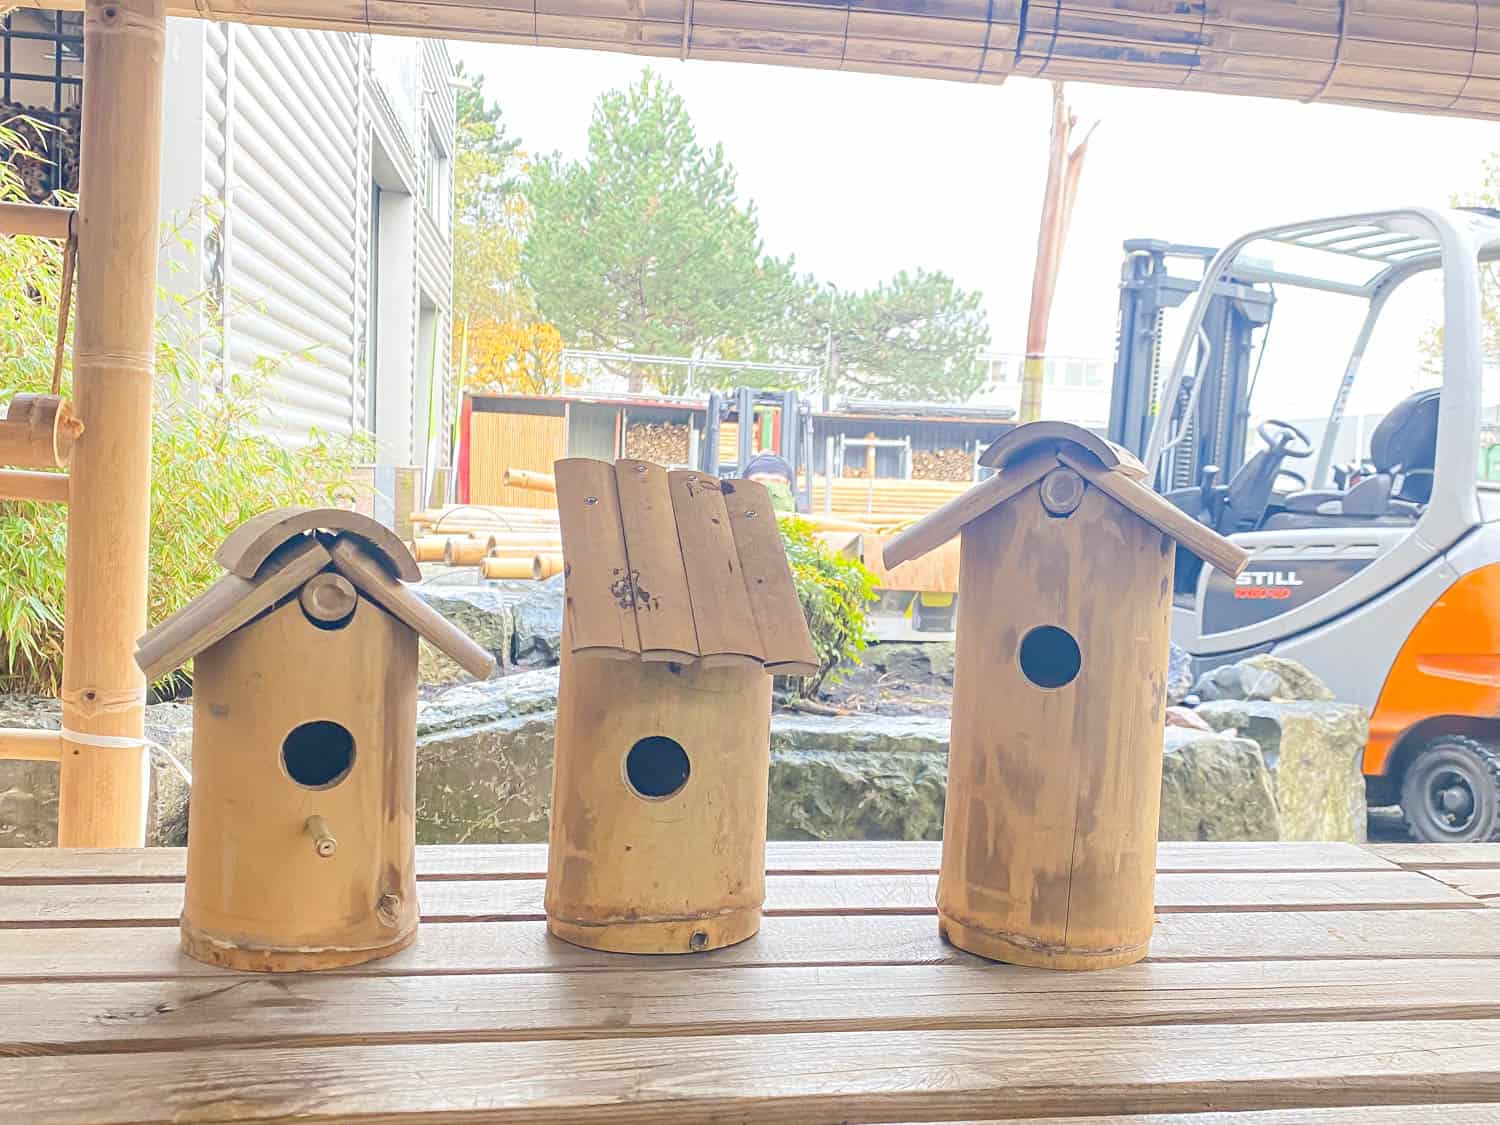
It is very easy to make a birdhouse from bamboo yourself. In this period, the weather becomes colder, and the birds need a shelter and a place to sleep. In the spring, you can use your bamboo birdhouse as a nest. There are several ways to build a bamboo birdhouse. In this blog, we will show you 2 ways to build a roof for your bamboo birdhouse.
You can also follow the instructions on our TikTok
@bambooimport it goes a little fast in the video, but these birdhouses are easy to make! #diy #easy #museumtime #lerenoptiktok
Way 1: Pointed roof with ridge
The first way is to make a peaked roof. You attach the peaked roof to a thin bamboo stick that you wedge between the bamboo to put the roof on.
.


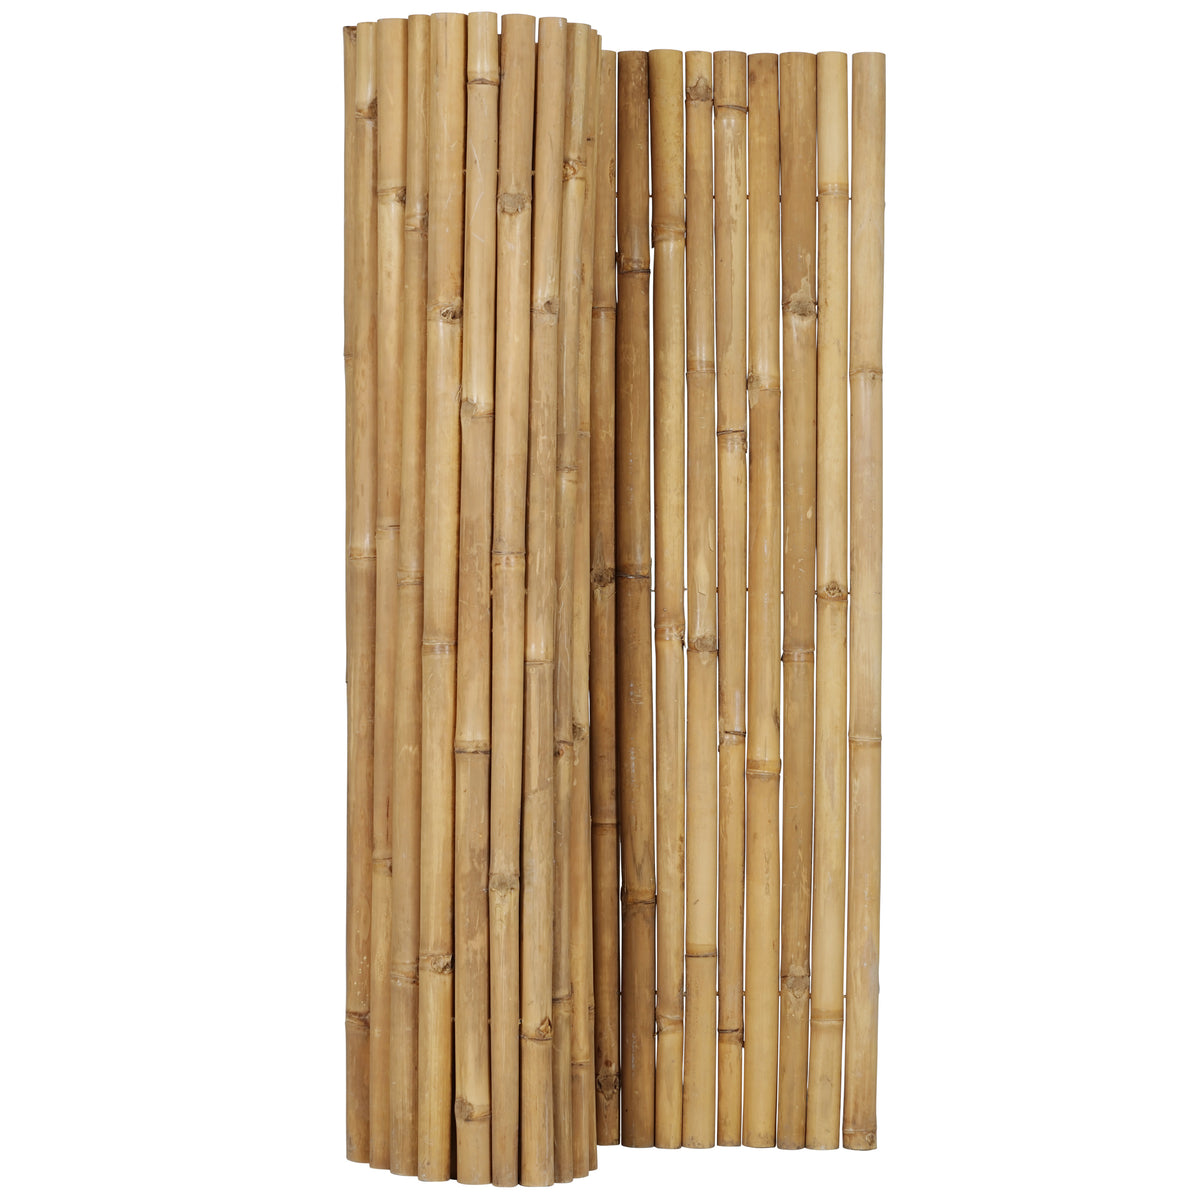
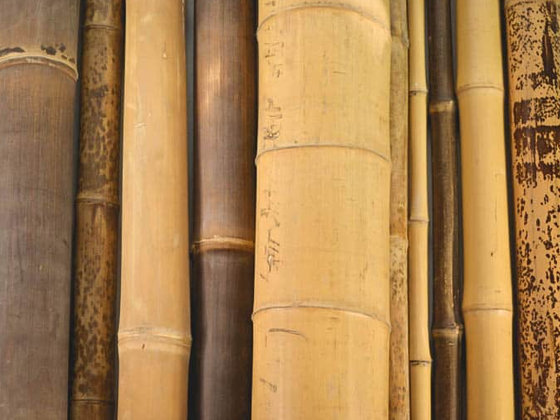
Bamboo Supplies
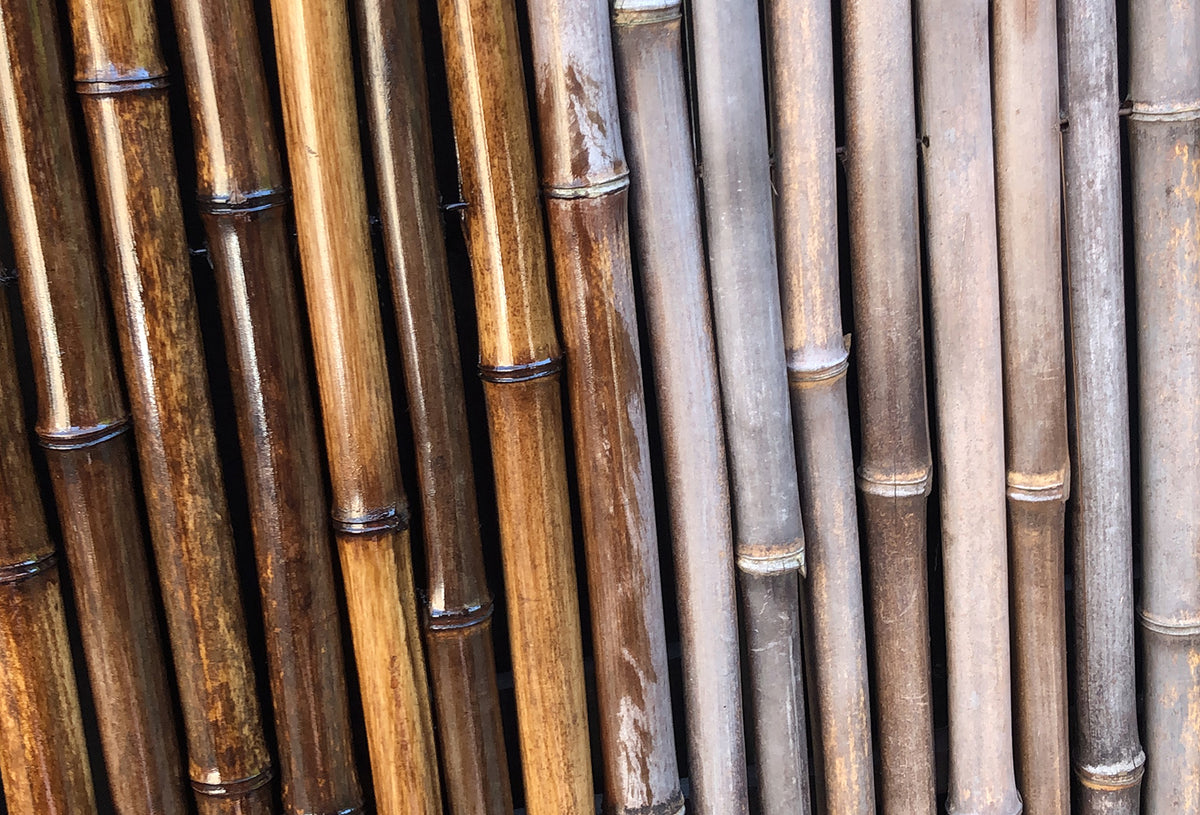
- Bamboo pole of about 30 cm in length and at least 10 cm in diameter to use as a birdhouse.
- Bamboo pole of about 20 cm, 7 to 10 cm in diameter for the roof
- Bamboo pole of about 10 cm and about 4 cm in diameter for the crossbeam
Tools
- Japanese Bamboo Saw
- Jigsaw
- Drilling machine
- Hole drill of 3 - 4 cm
- screws or nails of about 25 mm
- grater or hand grinder
- screwdriver and hammer
Step 1. making the base
Make sure that the base (bamboo pole of 10 cm diameter) does not have a hole in the node. Otherwise, you can easily fill it by mixing silicone with some sawdust. Measure 30 cm and sketch the slope of the roof. Then saw the pole to a point. You can do this with a Japanese bamboo saw..
Step 2: Cut out the roof
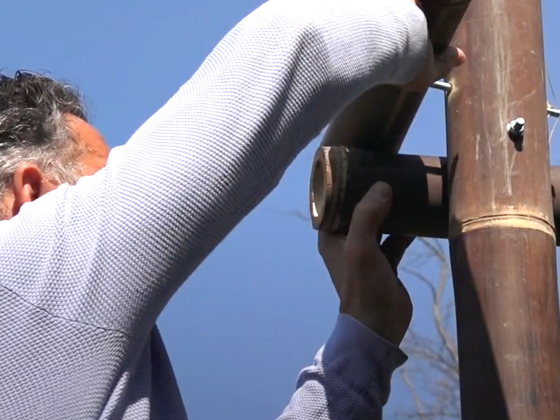
Take your short bamboo stick (4 cm in diameter) and mark it in the top of the roof. Then use your jigsaw to make a recess in it. Caution. It's important that the stick fits in easily, but it will clamp better if you make it a little narrower at the top. This way you can be sure that the roof won't just fly off, but you can take it off to remove the nest. The best way to do this is to clamp it down with a hammer blow.
Step 3. make roof tiles
Cut a piece of about 10 cm from the rod with a diameter of 7 cm. Use your screwdriver and hammer to split the post every 5 cm. Use your rasp or grinder to flatten them on the bottom. This way they will lay nice and flat later.
Step 4. Create a ridge line
Use the remaining 7 cm diameter to create the ridge line. Again, the idea here is to split the bamboo. This time, space them 6 to 7 inches apart. Sand the edges with the rasp or the grinder.
Step 5. attaching the roof
Use 2 of the roof tiles on each side. Screw them into the bamboo stick with a diameter of 4 centimeters. The bamboo will have a small overhang. Note that you will need to pre-drill the bamboo before screwing in the screws. Next, use the bamboo ridge to cover the top of the whole thing. You'll need to pre-drill this one first, too. Now you can put the roof on. Since this is a bit tricky with the tight holes, if all goes well, you can use a hammer blow to attach the roof. This way you can still take it off to remove the nest, for example.
Step 6. Drill the hole
Use the hole drill to drill the hole for the birds. Do this just below the ridge, about 10 inches from the ground.
Way 2: pitched roof
This way seems a little easier, but it might actually be more difficult. We are now going to build a birdhouse with a slanted roof.


Bamboo materials
- Bamboo pole about 30 cm long and at least 10 cm in diameter to use as a birdhouse.
- Bamboo pole about 15 cm long and an average diameter of 7 to 10 cm for the roof
Gereedschap
- Japanese bamboo saw
- Drilling machine
- Hole drill of 3 - 4 cm
- Screws or nails of about 25 mm
- grater or hand grinder
- screwdriver and hammer
- 1 string or a short piece of iron wire.
Step 1. making the base
Make sure that the base (bamboo pole with 10 cm diameter) does not have a hole in the knot. Otherwise, you can easily fill it by mixing silicone with some sawdust. Measure 30 centimeters and sketch how you will saw from back to front with slope. Next, cut the pole. You can do this with a Japanese bamboo saw.
Step 2. make a ring
Cut the bamboo again at the same angle. This time with a thickness of about 3 cm. This will give you a ring that will be the base for the slanted roof.
Step 3 Make roof tiles
Take your piece of bamboo. Use your screwdriver and hammer to split the pole every 5 inches. Use your rasp or grinder to flatten them on the bottom. This will allow them to lay nice and flat later.
Step 4. Build the roof
Attach the roof tiles to the ring with the screws. Work with an overflow at the front. Screw the bamboo to the ring in 1 - 2 places.
Step 5. attach the roof
We will use two screws to attach the roof. Screw two screws halfway on the back of the roof, straight on top of each other. Use a piece of iron wire to attach the roof ring to the bamboo. Wrap the rope around it to secure the roof. Caution. If the house is in an area with a lot of wind, it is best to do this on the front as well.
Step 6. Make the hole
Use the hole digger to drill the hole for the birds. Do this directly under the ridge, about 10 inches from the ground.


If you like, you can use a thin Tonkin pole to make a perch for the birdhouse hole. You probably have some bamboo left over that you can also use as a perch. That way you can be sure to use it all up!
Are you going to do the same? Show us your results on social media!